GITHUB / LESSON 07
Pull Requests.
Proposing and reviewing changes
Loading the lesson…
Loading activities…
GITHUB / LESSON 07
Proposing and reviewing changes
Loading the lesson…
Loading activities…
Last lesson you merged branches directly. Which works! In the real world, though, you usually don't merge your own code the second it's done. You open a "Pull Request" to propose your changes and get some eyes on them first.
A Pull Request (usually just called a "PR") is your way of saying "Hey, I made some changes on my branch. Can somebody look these over before they go into main?"
It's a lot like turning in a rough draft.
Other people get to look at your changes, and they can do a few useful things.
Every Pull Request leaves a record behind.
I'm a big believer in living in a glass house, meaning show your work and keep the receipts. A PR is exactly that for code, with every change and every conversation sitting out in the open.
Before code ever reaches main, a few safety nets kick in.
Let's make your first Pull Request.
First, make sure you've got changes sitting on a branch.
After the push, Git will show you a link to create a Pull Request. Click it, or head over to GitHub yourself.
Go to your repository on GitHub. You'll see a yellow banner saying your branch was recently pushed, with a "Compare & pull request" button. Click it!
Don't see the banner? Click the "Pull requests" tab, then "New pull request."
You'll get a form with two main boxes.
Title - A short description of your changes
Description - Explain what you changed and why
Click the green "Create pull request" button.
When you open a PR, you'll see a few tabs.
Where the discussion happens. Reviewers leave comments, you reply, and everyone can see the whole history.
A list of every commit in this PR. It shows exactly which changes are being proposed.
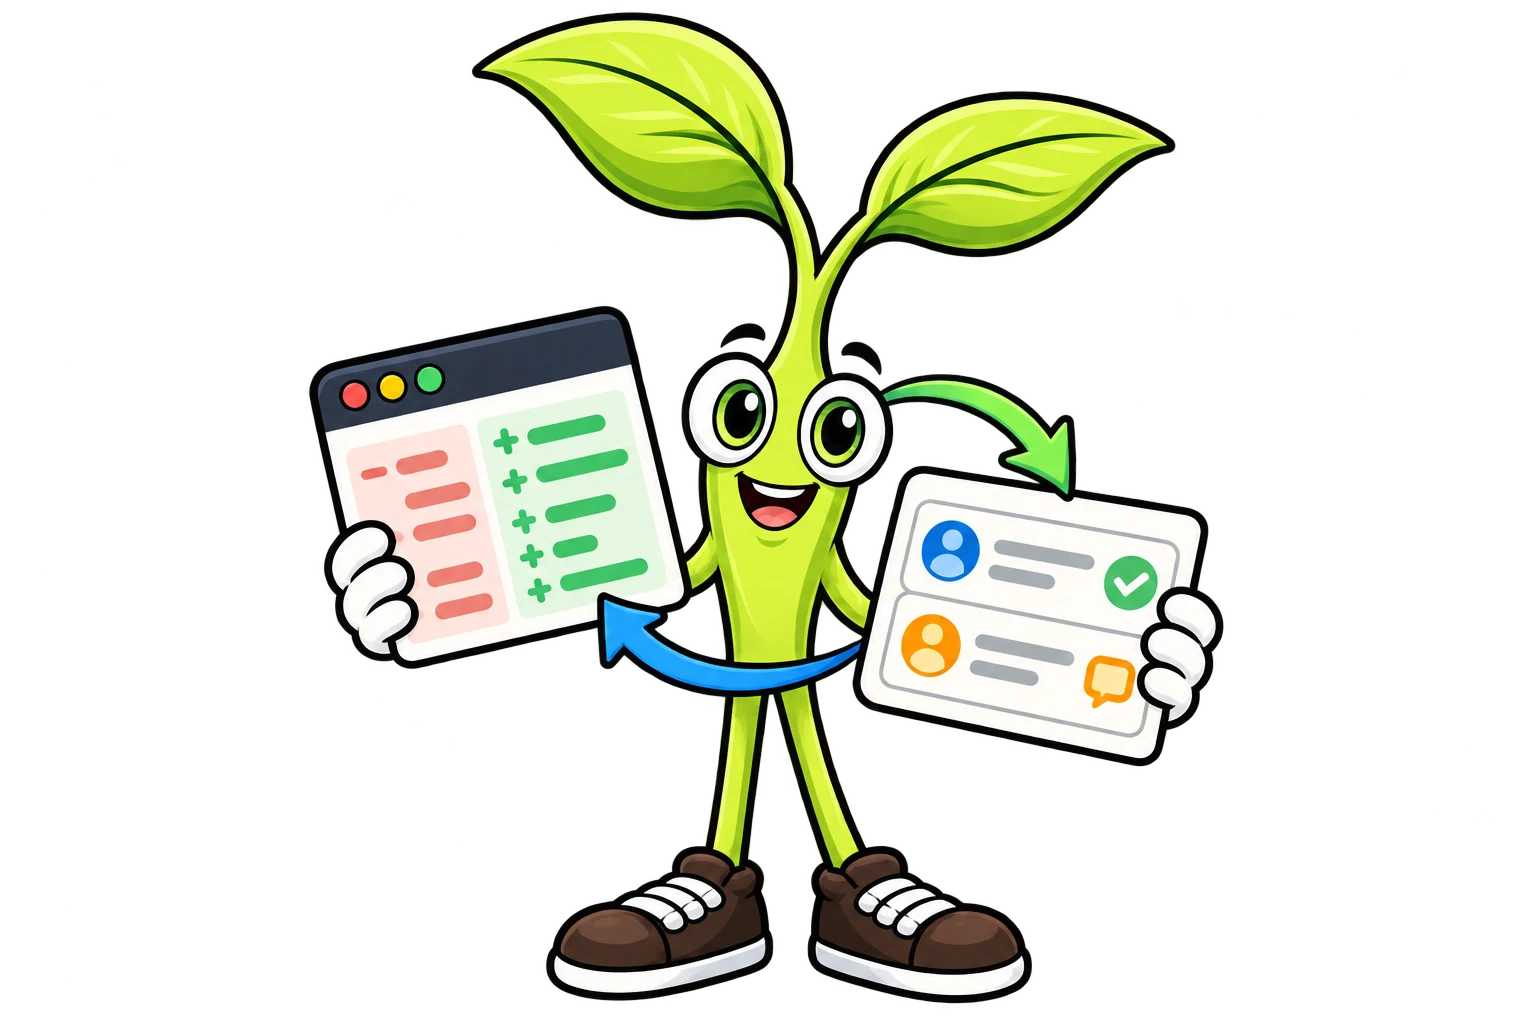
The actual code changes. Added lines show up in green and removed lines show up in red. Reviewers can leave comments on specific lines.
Even when you're working alone, it's a good habit to review your own changes.
Click the "Files changed" tab to see your changes.
Click the "+" next to any line to leave a comment. That's how reviewers give feedback.
Once a PR is approved (or you're ready to merge your own), here's how it goes.
At the bottom of the PR, click the green "Merge pull request" button.
Click "Confirm merge."
GitHub will offer to delete the branch. Click "Delete branch" since you don't need it anymore.
After merging on GitHub, your local main branch is behind. Catch it up.
Now your local main matches GitHub!
Keep PRs small
Write good descriptions
Respond to feedback
You've got the full GitHub workflow down! GitHub can do a lot more, though. Next lesson you'll meet GitHub Actions, a way to automate stuff like running tests every time you push code...